Detection Process
Our company has the first-rate examination equipments and the perfect examination system, also passed the ISO 9001 quality system certification, providing first-class products for the users. It mainly includes detecting instruments for bearing components as length measuring instrument, roundness measuring instrument, the image measuring instrument, roughness measuring instrument, the shape measuring instrument and soon.
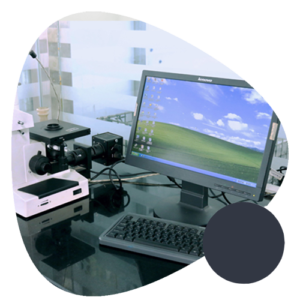
Each batch of raw materials will be sampled and analyzed by the meta llographic microscope and archived for further reference. All our products adopt GCr15 or Gcr 15SiMn bearing steel to ensure the quality of bearings
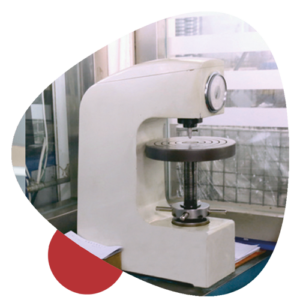
Rockwell hardness tester, the hardness of bearing parts must meet the standard; our product’s hardness range is controlled between HRC 58 -62.

Appearance inspection of bearing rings removes the defective products with knock, bruise and black skin caused by the processing of bearings.
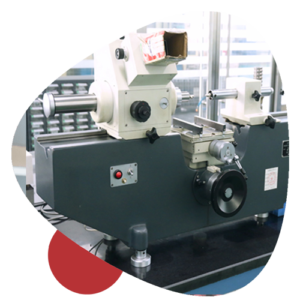
Accuracy testing of bearing rings removes unqualified products of shape and dimension accuracy to ensure that the finished bearing products reach P6 or above.
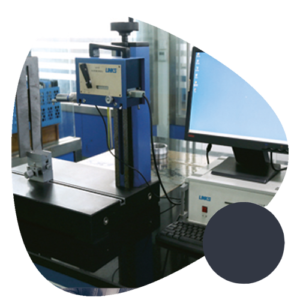
After grinding, use a roughness measuring instrument to measure the surface roughness of the bearing ring.
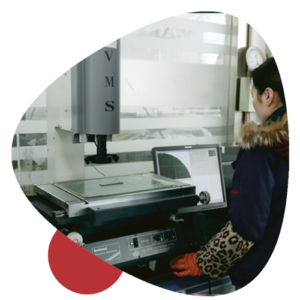
The shape measuring instrument and image measuring instrument is used for testing the shape and position tolerance of bearing race groove and the angle of rib, so as to ensure that the finished bearing products reach the grade of P6 or above and prolong the service life of the bearing.
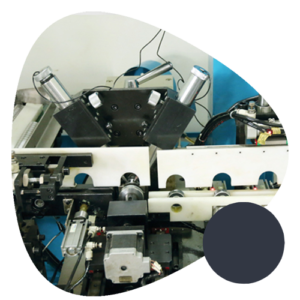
Bearing vibration automatic measuring instrument, our company has a number of vibration automatic measuring instruments, ensuring the accurate classification of bearings at the same time, improve production efficiency
